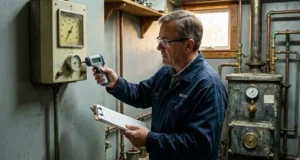
There is a specific, sinking feeling that happens when you turn your shower handle all the way to the hot side, only to be greeted by a blast of ice-cold water. You walk down to the basement, peer through the tiny glass viewing window of your heating unit, and confirm your worst fear: the tiny, dancing blue flame is gone. It’s a total blackout.
If you own an older or standard-efficiency heating system, a pilot light flame out is the ultimate winter buzzkill. That tiny pilot light is the spark plug of your entire heating system. When it goes dark, the main burners refuse to ignite, leaving your home freezing and your water icy.
While a vanished flame feels like a major emergency, the root causes are often predictable. Let’s look behind the metal access panel to understand why your flame keeps quitting, how to safely troubleshoot it, and when the job crosses the line into professional repairing a boiler territory.
The Anatomy of a Pilot Light: How It Actually Works
To fix a flame that won’t stay lit, you have to understand the tiny mechanical partnership happening inside the burner assembly.
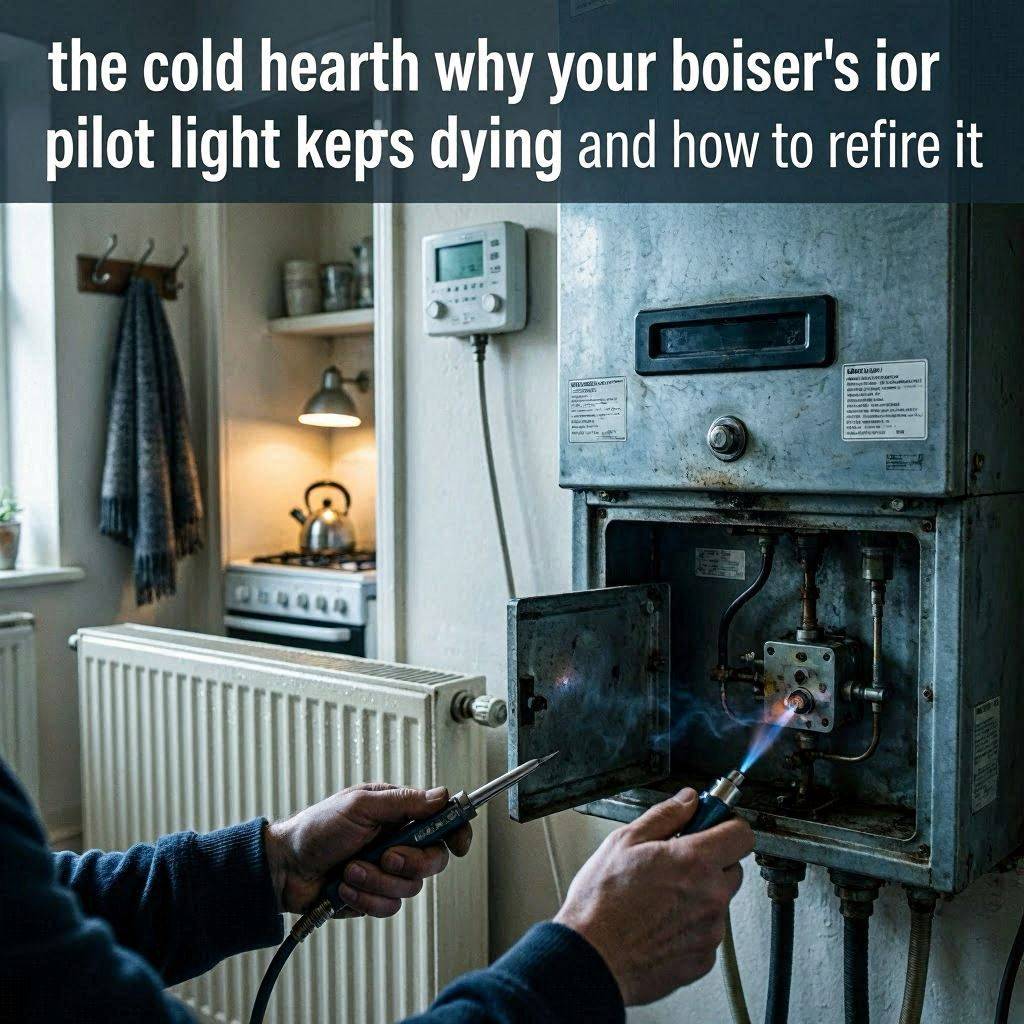
The pilot light doesn’t just sit there looking pretty; it interacts directly with a vital safety device called a thermocouple. The thermocouple is a small, pencil-thin copper rod that sits right in the path of the flame.
[Pilot Flame] ──► Generates Heat ──► [Thermocouple Copper Rod]
                                              │
                                     Creates Micro-Current
                                              │
                                              ▼
                                   [Holds Gas Valve OPEN]
When the flame heats the thermocouple, it generates a tiny electrical current. This current signals the main gas valve that it is safe to stay open. If the flame goes out, the thermocouple cools down, the electrical current stops, and the gas valve snaps shut instantly. This safety feature prevents your home from filling up with dangerous, unburned natural gas.
When you experience a persistent flame out, it means this delicate loop has been broken.
4 Reasons Your Pilot Light Keeps Going Out
If you find yourself relighting that tiny flame every single morning, you aren’t dealing with a fluke; you have a systemic issue. Here are the usual suspects behind a dying pilot.
1. The Carbon-Choked Pilot Orifice
Natural gas isn’t perfectly pure. Over years of continuous burning, microscopic traces of carbon and soot accumulate inside the tiny nozzle (the orifice) that feeds gas to the pilot. If this nozzle becomes partially blocked, the gas pressure drops, creating a weak, lazy yellow flame instead of a sharp blue cone. A weak flame easily dances away from the thermocouple, causing the system to shut down.
2. A Burnt-Out or Misaligned Thermocouple
Thermocouples live a brutal life. They sit directly in an open flame 24/7. Over time, the copper casing oxidizes, degrades, and loses its ability to generate that crucial electrical current. Alternatively, the rod might simply have been knocked out of place during a previous cleaning, meaning it’s no longer sitting directly in the hottest part of the flame.
3. Drafts and Turbulent Air Currents
Sometimes the issue isn’t mechanical at all—it’s environmental. If your boiler is located in a drafty utility closet, near an poorly sealed basement window, or next to an exterior door, a sudden gust of wind can literally blow the tiny flame out. Similarly, a cracked or improperly venting flue pipe can create a backdraft, pushing exhaust gases down into the combustion chamber and suffocating the flame.
4. A Failing Main Gas Valve
This is the worst-case scenario. If the pilot nozzle is clean and the thermocouple is brand new, but the gas still cuts off, the internal electromagnet inside the main gas valve assembly may be failing. When this valve loses its grip, it shuts off all fuel supply to the system.
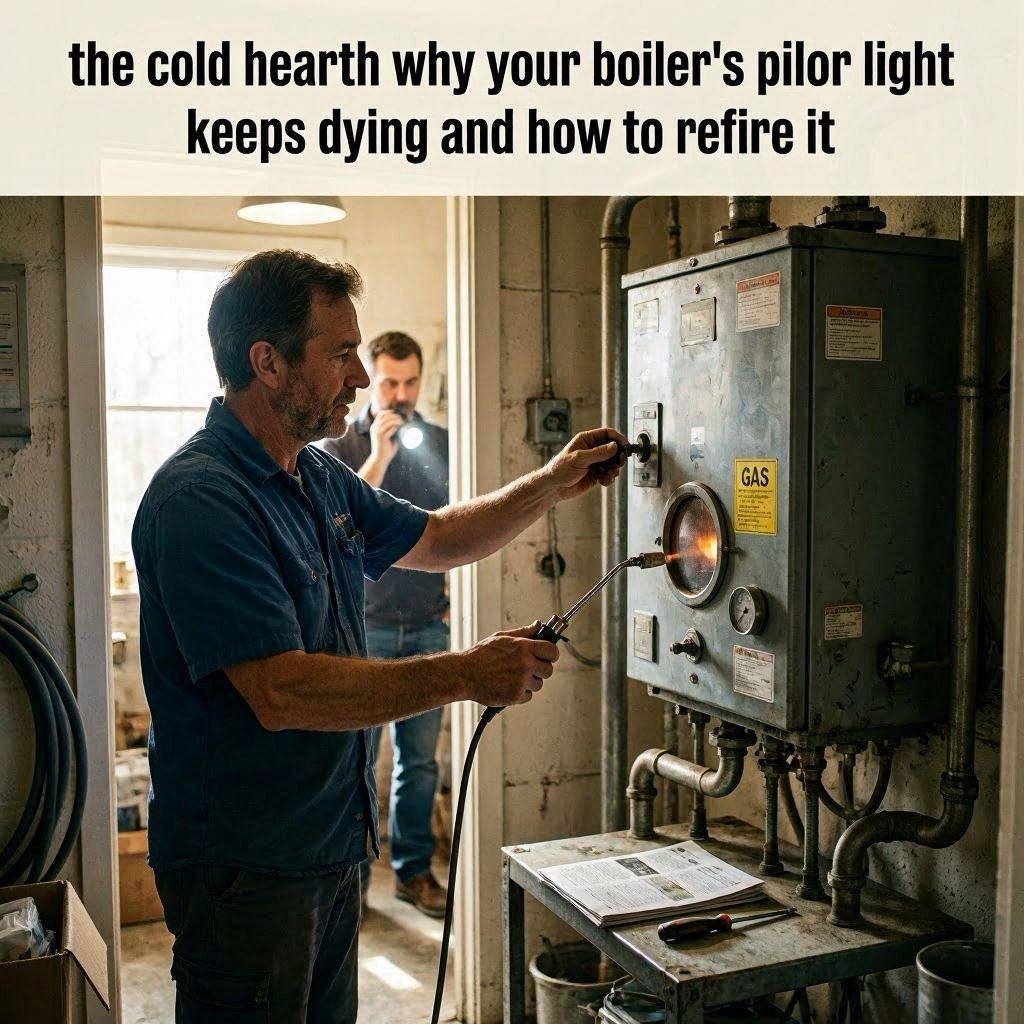
The Practical Guide to Repairing a Boiler with Pilot Issues
When it comes to repairing a boiler that refuses to hold a flame, troubleshooting follows a strict order of operations. Safety is paramount here—if you ever smell a rotten-egg odor (mercaptan added to natural gas), back away immediately and call your gas utility supplier.
| Step | Complexity | Tool Required | Expected Outcome |
| 1. The Visual Inspection | Very Low | Flashlight | Identify flame color and thermocouple position. |
| 2. Cleaning the Nozzle | Low | Fine wire / Compressed air | Restores a strong, sharp blue flame pattern. |
| 3. Replacing the Thermocouple | Medium | Wrench & New part | Restores the electrical signal to the gas valve. |
| 4. Gas Valve Diagnostic | High | Multimeter / Pro Tools | Determines if the main control unit needs replacement. |
Step 1: Read the Flame Color
Before doing anything, try to relight the pilot following the instructions printed on the side of your unit (usually involving turning a knob to ‘Pilot’, pressing it down, and hitting the igniter). Once lit, look closely at the color:
- Crisp Blue: Your gas-to-air mixture is perfect. The issue is likely a dead thermocouple.
- Lazy Yellow/Orange: The flame is starved of oxygen or choked by carbon. The pilot assembly needs a deep clean.
Step 2: Clearing the Carbon Blockage
If the flame is yellow and weak, turn off the main gas supply line. Let everything cool down completely. Take a piece of fine wire (like a guitar string or a thin sewing needle) and gently clear any soot out of the pilot gas opening. A quick blast of compressed air can blow out any lingering debris. Once cleared, relight the system to see if the flame regains its strength.
Step 3: Swapping Out a Dead Thermocouple
If the flame is a strong blue but dies the moment you let go of the pilot knob, the thermocouple has given up the ghost. Repairing a boiler by replacing a thermocouple is an accessible task for a patient homeowner:
- Turn off all gas and power to the unit.
- Disconnect the old copper lead from the gas valve using a small wrench.
- Unclip the probe end from the burner bracket.
- Take the old part to your local hardware store to match the length, thread the new one in exactly the same path, and tighten it gently (do not overtighten the brass nut on the valve).
When to Put Down the Wrench and Call a Professional
While cleaning a nozzle or swapping a $20 thermocouple is fine for a weekend DIY project, there are clear boundaries where home repair ends and professional licensing begins.
If you have replaced the thermocouple and cleaned the orifice, but the flame still drops out randomly, you are likely looking at a compromised gas control valve or an underlying ventilation issue. Messing with gas pressures, checking for cracked heat exchangers, or evaluating flue draft dynamics requires specialized gas-sniffing equipment and professional training.
Investing in a certified technician for repairing a boiler’s core gas components ensures your system doesn’t just run, but operates safely without risking carbon monoxide leaks or fire hazards.
Don’t Let a Tiny Flame Freeze Your Winter
A pilot light flame out is a small annoyance that points to a system needing a little attention. In most cases, it’s simply a dirty component or an aged sensor asking for a quick retirement.
By staying on top of yearly maintenance—keeping the burner area clean, checking for drafts, and ensuring your safety sensors are positioned correctly—you can ensure that when the freezing winter winds blow outside, that vital little blue flame stays dancing bright all night long.