You walk into your living room, shivering, and check the digital wall display. It reads a solid, comfortable 21°C. Yet, your hands are freezing, and you can see your breath in the hallway. Or perhaps you experience the exact opposite: the wall panel is set to a modest 18°C, but your radiators are cranking out an oppressive, tropical wall of heat that forces you to throw open the windows in the dead of January.
When a home’s temperature feels completely detached from the numbers on the screen, homeowners rarely suspect the little plastic box on the wall or the dial on the boiler panel. They assume the heat exchanger has failed, the gas valve is broken, or the system is on its last legs.
In reality, you are likely dealing with a classic case of thermostat miscalibration.
It is the mechanical equivalent of a car speedometer that reads 50 mph when you are actually doing 85. The boiler isn’t necessarily broken; it is simply receiving completely corrupted data from its brain. If left uncorrected, this data mismatch will send your winter utility bills through the roof, stress your system’s internal switches, and leave you searching for professional assistance for repairing a boiler far sooner than you ever expected.
Let’s lift the plastic casing, look at exactly why your thermostat is lying to your heating unit, and walk through how to recalibrate your system to restore perfect, predictable comfort.
The Communication Breakdown: How the Brain Controls the Flame
To fix a lying thermostat, you have to understand the communication protocol happening between your living space and your boiler. Your thermostat is essentially a gatekeeper. Inside it sits a component called a thermistor or a bimetallic strip that expands, contracts, or changes electrical resistance based on the surrounding air temperature.
[Room Air Temperature] ──► [Thermostat Sensor Reads Value] ──► [Relay Closes Circuit] ──► [Boiler Fires Up]
When the room drops below your target temperature, the thermostat closes an electrical loop, sending a 24V or digital signal down to the boiler’s main circuit board (PCB) that says: “Give us heat.” Once the sensor detects that the room has reached the target, it breaks the circuit, telling the boiler to shut down.
Miscalibration happens when the thermostat’s internal sensor loses its baseline reference point. If it thinks a freezing 16°C room is actually a cozy 22°C, it will never close the loop, leaving you stranded in the cold while your boiler sits completely idle.
4 Reasons Your Thermostat is Sending Corrupted Data
Thermostats don’t just lose their calibration out of nowhere. If your system is failing to match your real-world comfort levels, the issue typically stems from one of these four systemic errors:
1. The Microscopic Dust Barrier (The Physical Insulator)
If you have a traditional mechanical dial thermostat, or an older digital unit that hasn’t been cleaned in years, a thick layer of household dust, pet dander, and spiderwebs can accumulate directly on the internal sensor coil. This debris acts like a tiny, insulating blanket. The sensor cannot read the true ambient air flow of the room, trapping heat inside the casing and causing the boiler to shut off prematurely.
2. Poor Geographic Placement (The Environmental Trap)
Sometimes the thermostat is perfectly calibrated, but its location is completely compromised. If your installer mounted the thermostat in a spot that receives direct afternoon sunlight, right above a kitchen appliance, or directly next to a roaring radiator, the sensor will read that specific micro-climate. It assumes the whole house is boiling hot, leaving the rest of your rooms freezing cold.
3. A Drifting Thermistor (Component Wear)
Inside modern smart thermostats, temperature sensing is handled by a solid-state thermistor. Over five to ten years of continuous current flow, the electrical resistance properties of these semiconductor materials can slowly degrade or “drift.” When this happens, the internal calibration matrix shift, meaning a change of 1°C in the room might register as a 3°C jump on the control board.
4. Incorrect Anticipator Settings
Older mechanical thermostats use a small internal heating element called a heat anticipator. It is a tiny, adjustable metal slider that mimics the residual heat of your radiators to prevent the room from overshooting the target temperature. If this slider was bumped during a routine battery change or set incorrectly during installation, it will cause your boiler to cycle on and off rapidly without ever heating the space properly.
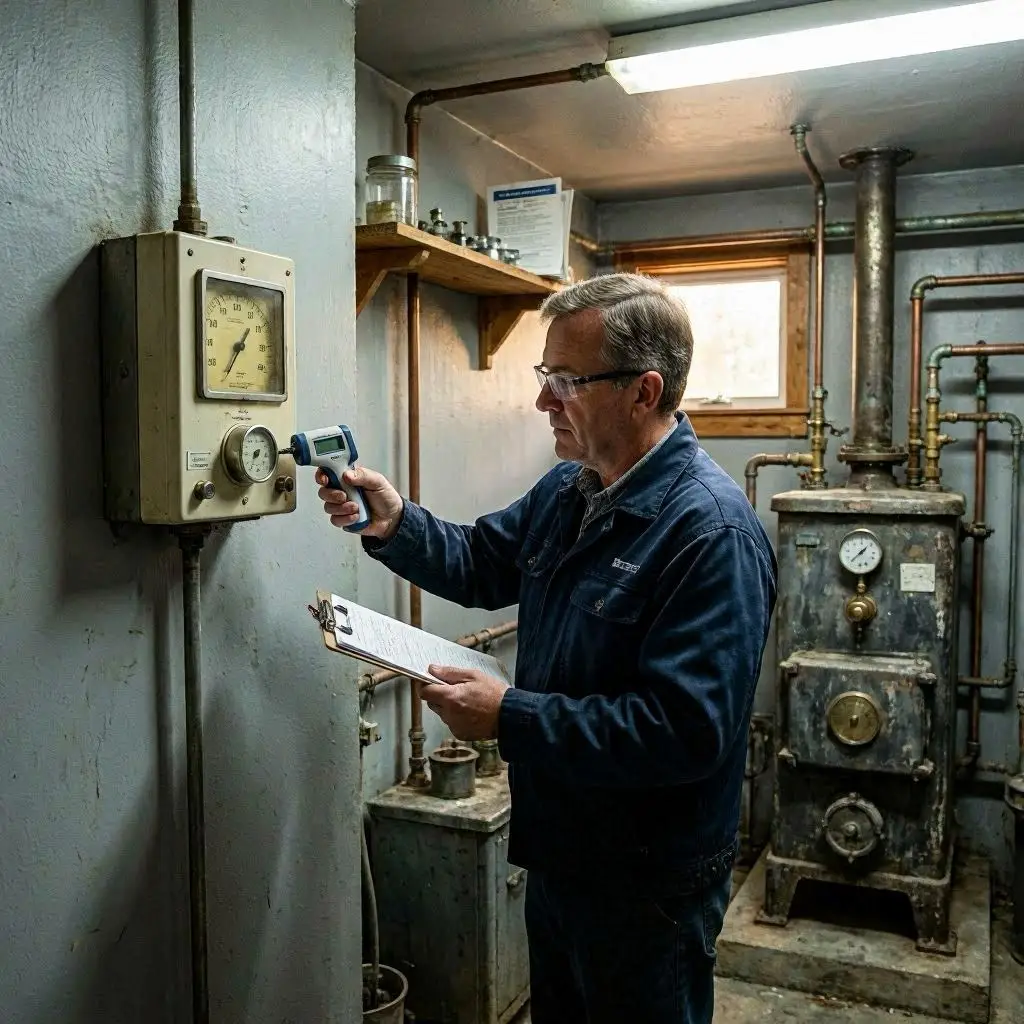
The Practical Diagnostic: Is It the Thermostat or the Boiler?
When it comes to repairing a boiler system that is behaving erratically due to temperature control issues, you must run a quick diagnostic test to isolate the fault before replacing expensive components.
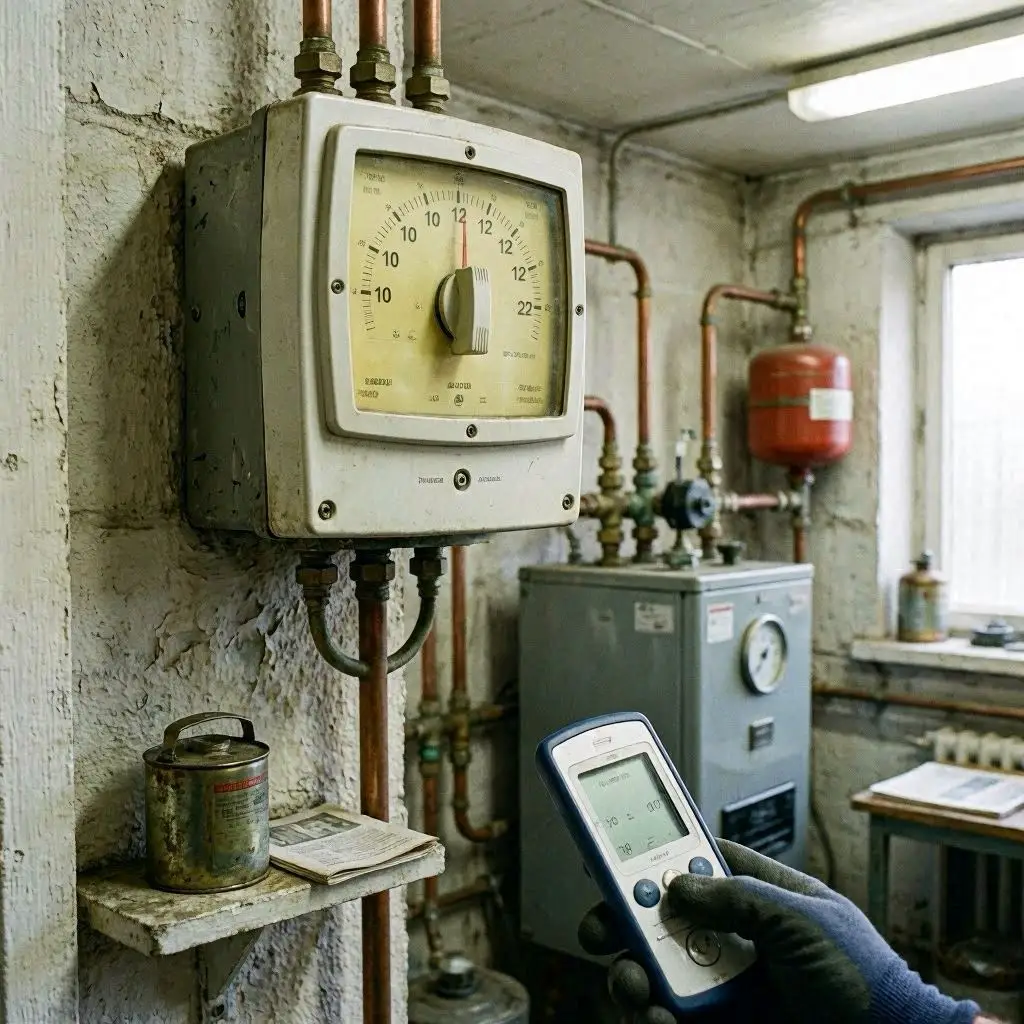
| The Test | The Procedure | The Result | What It Means |
| The Glass Thermometer Check | Place a precise manual thermometer next to the thermostat for 1 hour. | Numbers match within 1°C. | The thermostat calibration is fine; look for system flow issues. |
| The Glass Thermometer Check | Place a precise manual thermometer next to the thermostat for 1 hour. | Numbers differ by more than 2°C. | Thermostat is miscalibrated. |
| The Jumper Wire Test | Turn off power, remove thermostat face, and jump the ‘R’ and ‘W’ terminals directly. | Boiler fires up instantly and stays running. | The boiler’s internal electronics are perfect; the thermostat is dead or uncalibrated. |
Step-by-Step Calibration Protocol
If your diagnostic tests prove that your control system is miscalibrated, follow these steps to restore structural balance to your heating control loop.
Step 1: Clean the Contact Points
Turn off the power to your heating system at the main consumer unit. Gently pop the outer plastic cover off your wall thermostat. Take a can of compressed air or a soft camel-hair brush and blow away any visible dust clusters from the internal components. For mechanical contacts, slide a crisp dollar bill or a piece of clean paper between the contact points to clear away invisible oily residue.
Step 2: Level the Unit
Mechanical thermostats rely entirely on gravity to operate their internal mercury switches or bimetallic coils. If the housing unit was knocked crooked by a stray shoulder or installed unevenly, the switch will trigger at the wrong angle. Place a small bubble level across the top of the casing and straighten the mounting screws if necessary.
Step 3: Digital Offset Adjustment
If you own a modern digital or smart thermostat (like a Nest, Hive, or Ecobee) and notice it consistently reads 2 degrees too high or too low, you don’t need to open the casing. Access the Advanced Settings or Installer Menu via the display screen or smartphone app. Look for a setting called “Temperature Offset” or “Calibration.” Here, you can manually input a correction factor (e.g., -2.0°C) to instantly re-align the digital display with the real-world room temperature.
When to Bring in the Professionals
While wiping away dust or adjusting a digital offset menu is a perfectly acceptable DIY task, some calibration issues run much deeper.
If your thermostat is perfectly calibrated, but the boiler continues to overshoot its target temperature, or if the system is constantly short-cycling (turning on and off every few minutes), the breakdown exists inside the boiler’s internal safety network.
                       [WHEN TO CALL THE PROS]
                                  │
         ┌────────────────────────┴────────────────────────┐
         ▼                                                 ▼
[Internal NTC Failures]                          [PCB Communication Errors]
The boiler's own internal fluid sensors          The main circuit board cannot read the
(NTC thermistors) are scaled up or dead.         OpenTherm or digital relay signals.
Repairing a boiler at this advanced component level requires a certified heating engineer. They can tap directly into the boiler’s diagnostic port, read the internal live data streams from the primary heat exchanger sensors, and ensure that the control loop is structurally sound, safe, and fully optimized.
Take Control of Your Climate
A miscalibrated thermostat is an invisible leak in your household budget. It forces your system to run inefficiently, burns extra fuel, and causes needless frustration during the coldest months of the year.
By treating your control sensors with a little proactive maintenance—keeping them clean, checking their accuracy with a standalone thermometer, and adjusting digital offsets when they begin to drift—you can take full control of your indoor climate. Keep your data accurate, keep your baseline balanced, and your home will stay perfectly, efficiently warm all winter long.