A central heating system relies on a sealed hydraulic loop to push hot water across your radiators. When that loop loses its structural containment, the system pressure drops, eventually forcing the control board to trigger a safety lockout code. If you notice your radiators failing to heat up fully or see the front panel gauge resting below the optimal zone, you are dealing with a classic drop in system pressure.
This technical guide covers the exact diagnostic checks you need to perform to trace the root cause and restore your heating safely.
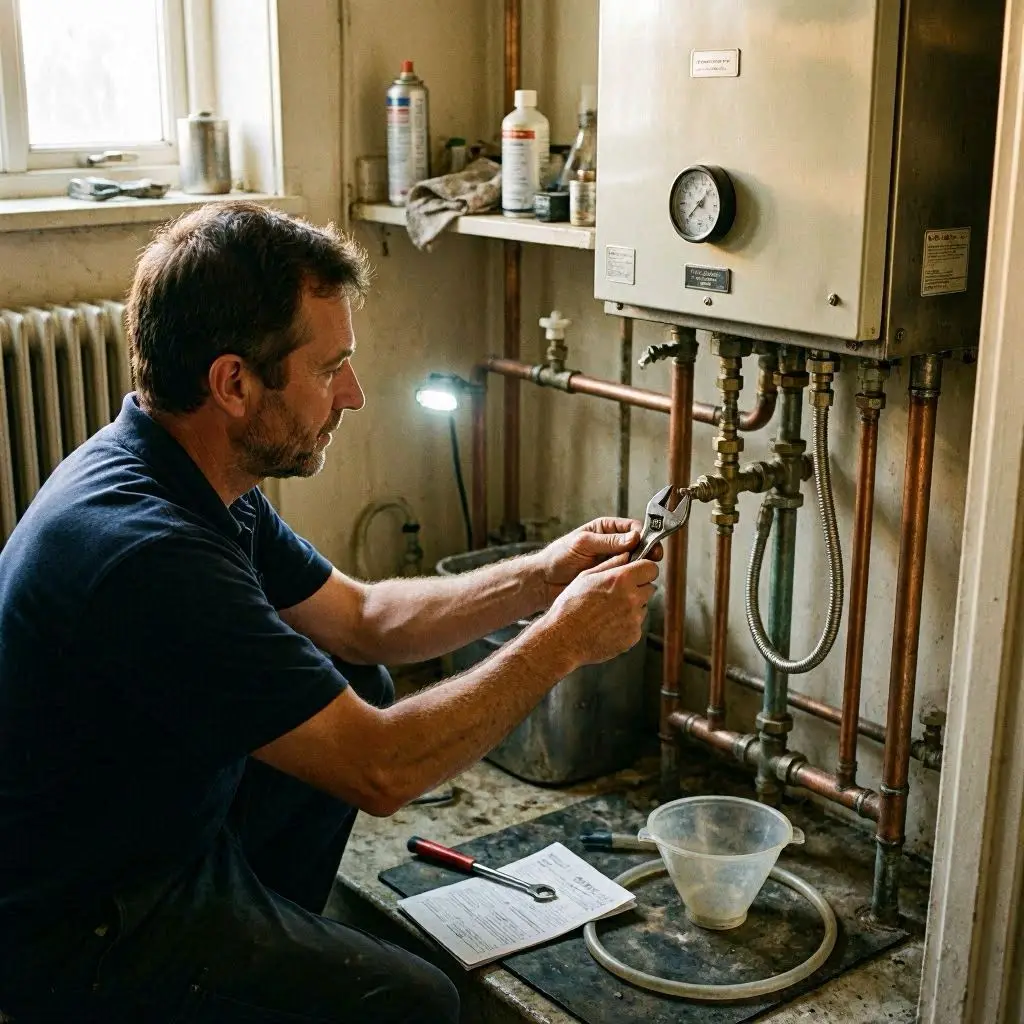
1. Verifying the Pressure Status (The Baseline Check)
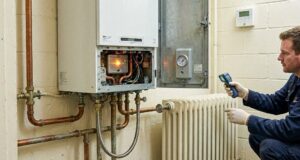
Before attempting any physical adjustments, you must check the baseline readout on your system’s diagnostic gauge.
Low System Pressure Status Gauge. Source: Belvoir
A healthy, cold central heating system typically needs to sit between 1.0 and 1.5 bar. When the heating fires up and the water expands, the needle may climb slightly toward 2.0 bar—this is normal. However, if the needle drops below 0.5 bar, the internal pressure switch will shut down operation entirely to prevent the heat exchanger from dry-firing.
2. Tracing the Cause: Internal vs. External Leaks
If the pressure is steadily decreasing over days or weeks, water is escaping somewhere.
Hidden Radiator Valve and Pipework Leaks
The most common culprits behind a slow, steady pressure drop are the radiator thermostatic valves (TRVs) or the lockshield valves at the opposite end of the radiator panel. Check the joint connections carefully.
Even a microscopic pinhole leak or a slow, weeping gland nut can let out enough water vapor over 24 hours to drop system pressure significantly, without leaving a visible puddle on the floor.
Internal Mechanical Components
If all visible pipework and radiator valves are completely bone-dry, the fault likely sits inside the chassis. The internal automatic air vent (AAV) might be leaking water while releasing trapped air, or the expansion vessel’s rubber diaphragm could be ruptured. When it comes to repairing a boiler with an internal expansion vessel failure, specialized testing tools are required to check the internal air charge via the Schrader valve.
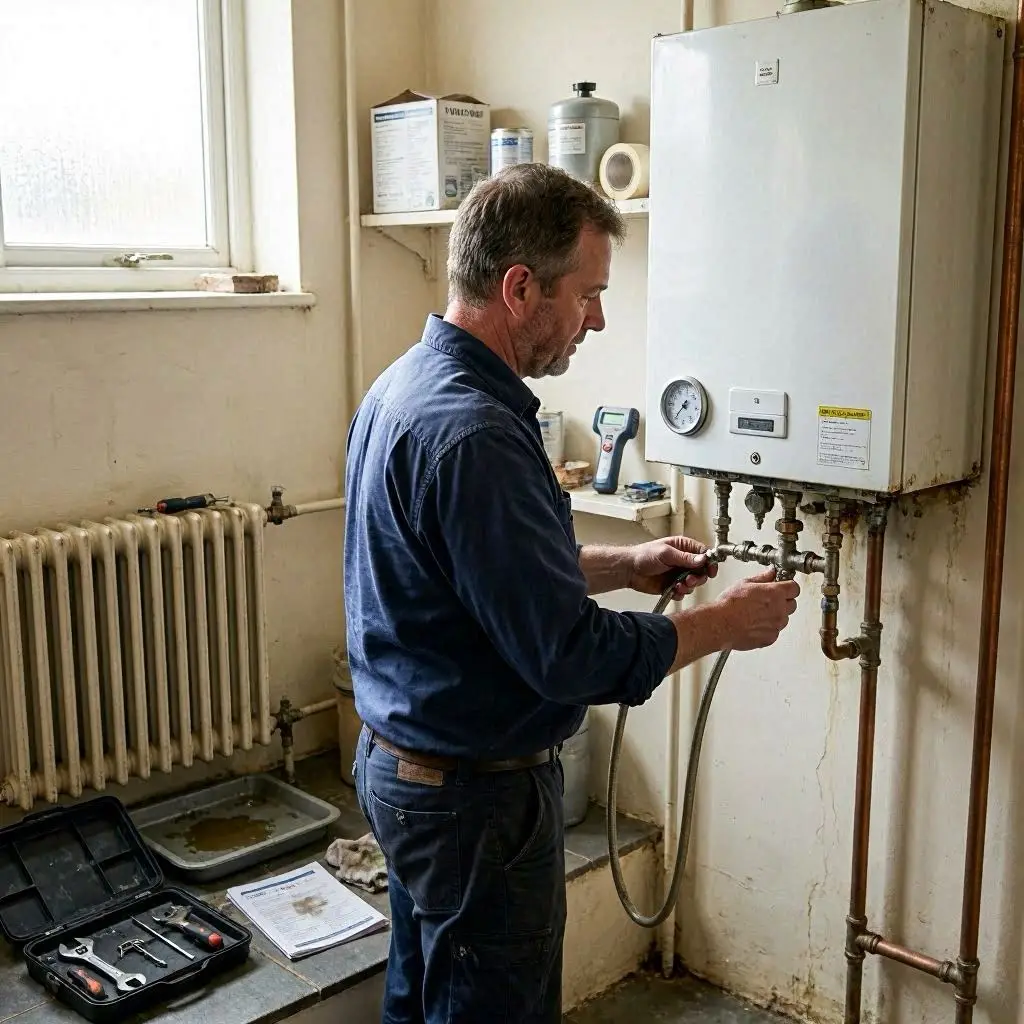
3. The Re-Pressurization Blueprint (Using the Filling Loop)
If your system pressure has dropped slowly over several months, it is often due to recent radiator maintenance or minor air bleeding. You can manually restore the water volume using the external or internal filling loop
The External Silver Braided Filling Loop Assembly. Source: Plumbers Essex | Plumbing & Heating | TM Hughes & Son
Crucial Warning: Never add cold water into a boiler that has just been running at maximum temperature. The sudden temperature difference can cause the hot metal inside the heat exchanger to undergo thermal shock, potentially cracking the component. Always allow the unit to cool down completely for at least 30 to 45 minutes before re-pressurizing.
Step-by-Step Re-Pressurization Protocol
The Method
Power Down and Cool Completely
System Stabilization
1.Power Down and Cool Completely:System Stabilization.
Switch off the electrical supply at the fused spur next to the appliance. Ensure the unit has completely cooled down to prevent any risk of thermal stress to the internal cast iron or aluminum components.
2
Locate and Verify the Filling Loop
Hardware Connection
2.Locate and Verify the Filling Loop:Hardware Connection.
Identify the silver flexible hose underneath or directly below the casing. Ensure both ends of the braided line are securely tightened to their respective copper pipe brass connections before touching any control levers.
3
Open the Filling Valves Slowly
Hydraulic Adjustment
3.Open the Filling Valves Slowly:Hydraulic Adjustment.
Slowly turn the small lever handle (or dual keys on specific modern models) 90 degrees. You should immediately hear the distinct sound of cold mains water flowing into the low-pressure heating loop. Watch the front panel digital or analog dial closely as you do this.
4
Isolate and Lock the Valves at 1.2 Bar
System Containment
4.Isolate and Lock the Valves at 1.2 Bar:System Containment.
Once the gauge needle reaches 1.2 bar, turn the filling loop levers back to their original closed position to stop the water flow. Firmly check that the water sound has stopped completely so you don’t accidentally overfill the loop.
Diagnosing a Faulty Expansion Vessel
If you fill your system up to 1.2 bar, but the pressure rapidly spikes right up into the red zone (above 3.0 bar) as soon as the heating turns on—and then plummets down to zero once it cools—your expansion vessel has failed.
The expansion vessel contains a rubber bladder surrounded by pressurized nitrogen gas. This gas compresses to absorb the natural expansion of the heating water. If the bladder ruptures or loses its air charge, there is nowhere for the expanding water to go. The system pressure hits maximum within minutes, triggering the safety pressure relief valve (PRV) to dump water out of your external discharge pipe, which leaves the system completely empty once it cools down.
Core System Diagnostics: Pressure Behavior Mapping
| Observed Pressure Behavior | Likely Component Failure | Required Action |
|---|---|---|
| Drops immediately within hours after manual refilling. | Large active leak on pipework or a stuck-open safety relief valve. | Inspect all visible radiator joints; trace external copper discharge pipe. |
| Spikes to maximum when hot, drops to zero when cold. | Ruptured expansion vessel bladder or loss of nitrogen air charge. | Requires professional servicing to repressurize or replace the vessel. |
| Drops very slowly over several weeks or months. | Micro-leak at radiator valves or recently bled air from the system. | Monitor valve glands for white limescale tracking; add fresh water via loop. |
When to Call a Certified Engineer
While topping up your water volume via the filling loop is a straightforward task, repairing a boiler that persistently loses pressure is a job for a qualified, registered heating engineer.
If you are topping up the system more than once every few months, you are constantly introducing fresh oxygenated water into your radiators. This accelerates internal iron oxide corrosion, leading to dark magnetic sludge that can ruin your pump and block your heat exchanger channels. An expert technician can safely test the expansion vessel charge, replace leaking internal O-rings, and trace complex hydraulic faults without compromising the unit’s sealed combustion chamber.
Fixing a boiler with dropping water pressure is all about identifying the speed and pattern of the fluid loss. If it is a minor drop from bleeding air out of your radiators, a controlled top-up using the filling loop will solve your problem within minutes. But if your system exhibits major pressure spikes or constant volume drops, it points to an underlying component issue like a failed expansion vessel or an internal leak. Keep an eye on your bar gauge, act before the winter freeze settles in, and rely on certified expertise for internal component replacements.