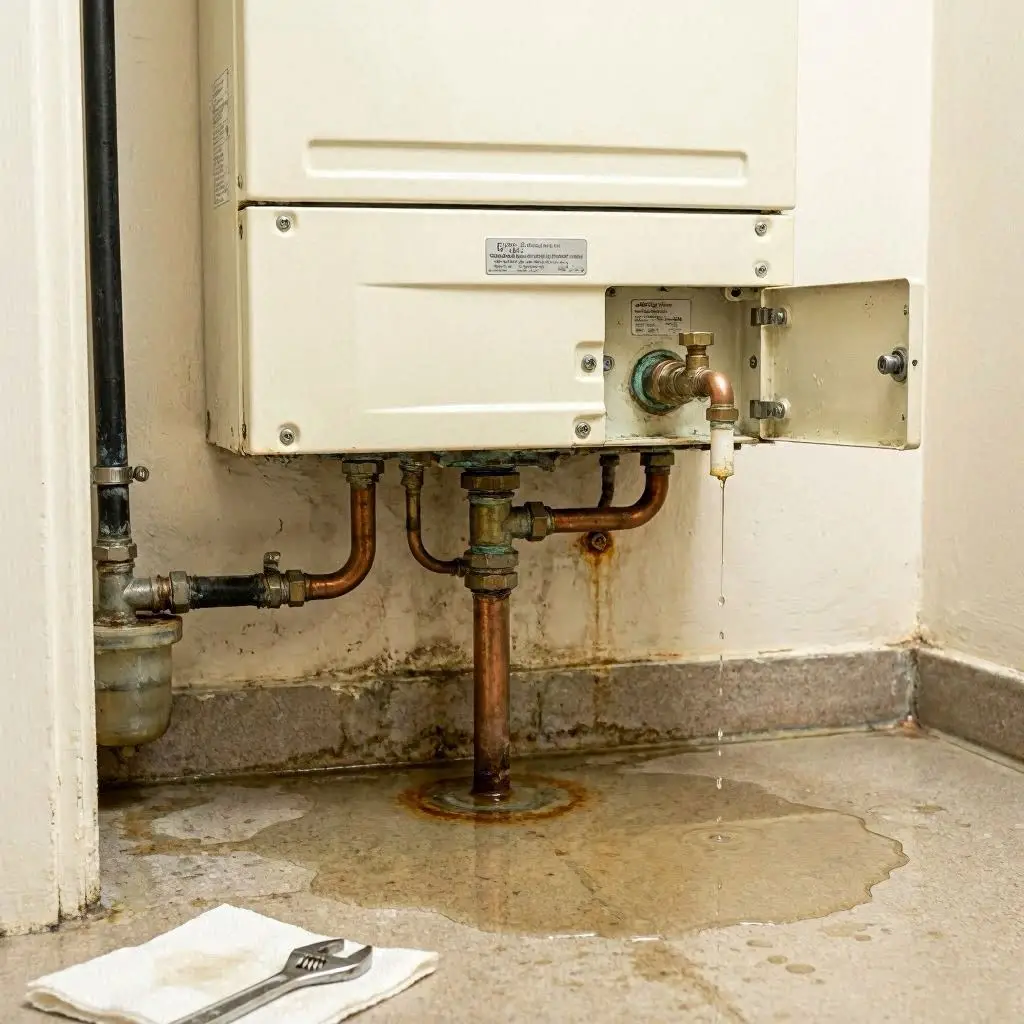
Discovering a puddle forming under your central heating unit is an immediate cause for concern. A leaking boiler isn’t just an inconvenience that threatens your flooring; it is a clear warning sign that an internal mechanical component or joint has failed. Ignoring a baseline drip almost always leads to more expensive system failures, complete lockouts, or damaged electrical circuitry within the unit itself.
When assessing why is my boiler leaking water from the bottom, the origin of the water dictates how severe the issue is. While some leaks are safety mechanisms operating exactly as intended, others point to internal corrosion that requires immediate attention.
1. Excessive System Pressure and the Pressure Relief Valve (PRV)
The most frequent cause of water dripping directly from the underside or the discharge pipe of a boiler is an over-pressurized system. Your boiler operates safely within a specific pressure range—usually between 1.0 and 1.5 bar when the system is cold.
How the PRV Triggers a Leak
If your system pressure spikes past 3.0 bar due to a faulty expansion vessel or because you accidentally left the filling loop valve open after topping up the water, the Pressure Relief Valve (PRV) opens mechanically to eject the excess water. This prevents your internal heat exchanger from cracking under extreme pressure.
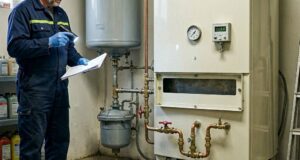
- The Diagnostic Test: Check the pressure gauge on the front control panel. If the needle is pointing to the red zone (above 2.5 or 3.0 bar) and you see water coming from the small copper pipe running out of the bottom, your PRV is executing its safety function.
- Action Plan: If the filling loop is fully closed and the pressure keeps rising, the internal diaphragm of the expansion vessel has likely failed, requiring professional intervention.
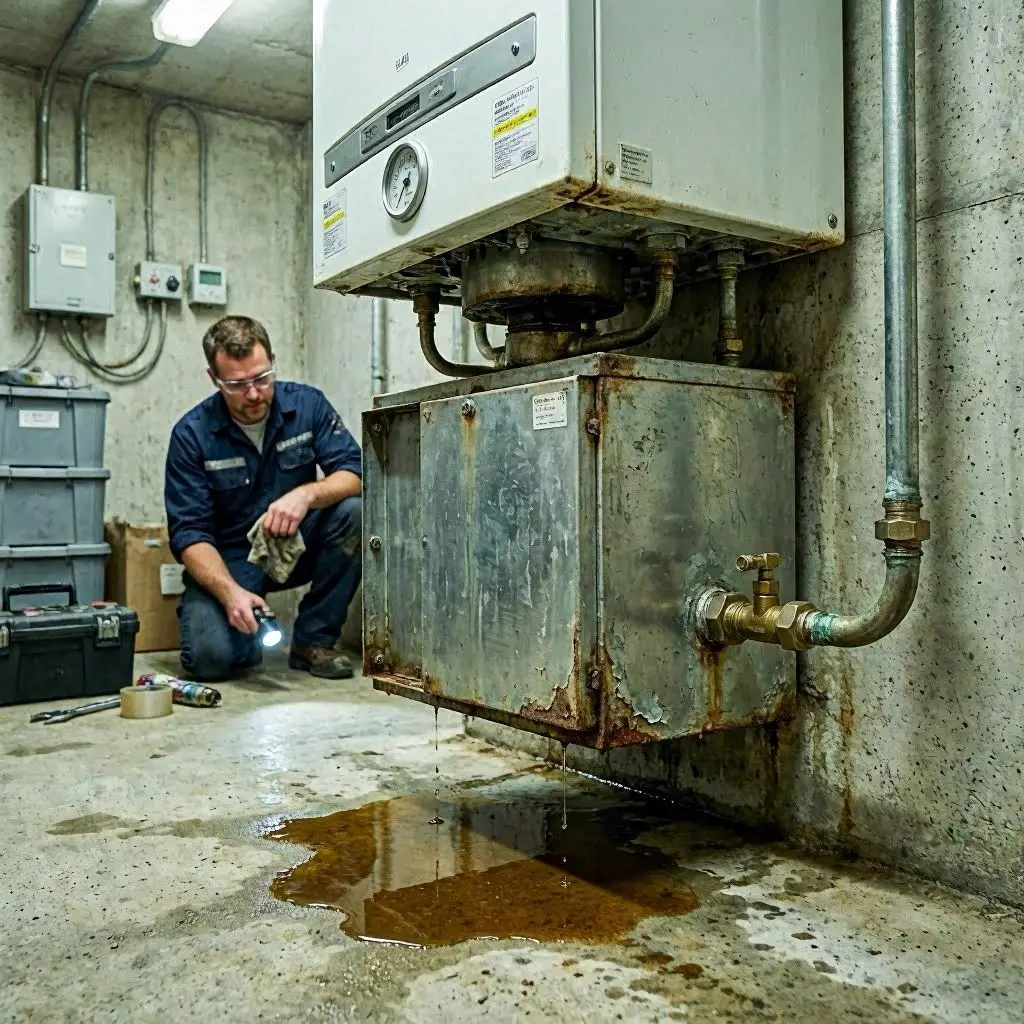
2. Failed Internal Components: The Pump and Heat Exchanger
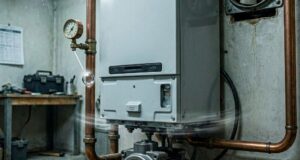
If the pressure gauge reads a completely normal level (around 1.2 bar) but water continues to pool underneath the casing, the leak is originating from a degraded internal component.
Pump Seals and Hydraulic Blocks
The internal circulation pump is subjected to constant heat cycles and physical friction. Over time, the rubber hydraulic seals around the pump housing dry out, become brittle, and allow water to seep through. Because the pump sits inside the main chassis, this water trickles down the internal frame and drips out of the bottom casing slits.
Heat Exchanger Corrosion
The heat exchanger is where the gas flame heats the system water. Over years of operation, microscopic mineral deposits and magnetic sludge settle inside the channels. If your system hasn’t been treated with chemical inhibitors, this sludge causes localized overheating and localized corrosion, eventually eating small pinholes through the metal wall. When it comes to repairing a boiler with a cracked heat exchanger, the repair cost is often high enough that replacing the entire unit becomes the more logical financial choice.
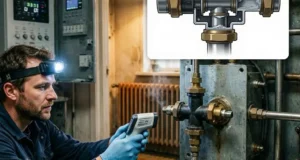
3. Corroded Internal Pipework Joints
Inside the boiler casing lies a dense network of copper pipes connected by brass compression fittings or soldered joints. As your heating turns on and off, these metals expand and contract rapidly.
The Thermal Expansion Phenomenon: Over several years, the constant micro-movement caused by shifting temperatures can slowly loosen compression nuts or fatigue older solder joints, allowing water to escape drop by drop.
If you live in a hard water area without an inline scale reducer, lime scale can build up at these junctions, accelerating joint failure and resulting in a steady, slow under-casing leak that presents itself at the base of the unit.
Technical Comparison: Leak Origins and Severity levels
To help you categorize the urgency of the problem, look at the common culprits below based on where and how the water is moving:
| Component | Visual Presentation | Initial Severity Level | Primary Cause |
| Pressure Relief Valve | Clean water dripping outside or from the copper pipe. | Moderate | System overfilled or expansion vessel air loss. |
| Circulation Pump | Rusty or dark water pooling slowly inside/under casing. | High | Worn rubber seals or bearing failure from age. |
| Heat Exchanger | Steady dripping only when the heating is firing up. | Critical | Metal fatigue, lime scale buildup, or pinhole corrosion. |
| Filling Loop Valve | Drip originating directly from the flexible silver hose. | Low | Loose connection nuts or worn internal plastic washers. |
Step-by-Step System Stabilization Protocol
If you notice a live leak, you need to take protective measures immediately to preserve your home’s flooring and protect the electrical components inside the boiler from short-circuiting.
The Method
1.Isolate the Electrical Supply:Immediate Safety.
Locate the fused spur switch next to the boiler or turn off the dedicated heating breaker at your main consumer unit. Never work around a wet boiler chassis with live electrical currents running to the PCB (printed circuit board).
2.Check and Document the Pressure:Diagnostic Capture.
Read the physical or digital bar gauge. Write down whether it is sitting below 1.0 bar (depressurized) or above 2.5 bar (over-pressurized). This information is highly valuable for the engineer when they begin repairing a boiler.
3.Contain the Liquid:Property Protection.
Place a shallow plastic container or a heavy towel directly beneath the leak point. If the water is dark or dirty, it contains central heating sludge which can permanently stain carpets and wooden floorboards.
4.Isolate the Isolation Valves:Flow Containment.
If you feel confident, turn the small slots on the cold water mains inlet valve and the central heating flow/return valves under the boiler by 90 degrees using a flathead screwdriver or the built-in levers. This stops fresh water from feeding into the leak.
Understanding the Hazards of DIY Boiler Fixes
While it is tempting to grab a wrench and start tightening internal connections yourself, there are strict legal and safety boundaries surrounding central heating repair. The casing of a modern gas boiler forms a sealed room-sealed combustion chamber. Opening this casing incorrectly can disturb the gas-to-air ratio or compromise the flue seals, introducing a severe risk of carbon monoxide leakage into your living spaces.
Leave internal diagnostics, component switches, and gas line handling strictly to certified, registered professionals who possess the diagnostic tools required to safely manage the pressure and structural integrity of the appliance.
A boiler leaking from the bottom is a diagnostic map of your system’s internal health. Whether it is a safety valve responding to an overfilled system or a degrading pump seal giving out after years of hard service, acting quickly keeps the repair costs manageable. Isolate the power, contain the water, note down your system’s pressure readings, and bring in a qualified professional to restore your heating safely.